
Samsung Gear360 Manager – Independent Learning
by Anna Leach
- December 14
- in
For my final project, I decided to film using the Samsung Gear360 camera. One of the "perks" of using this device is certain Samsung cell phones can download the Samsung Gear360 Manager app, which acts as a sort of virtual remote for the camera.
Configuration
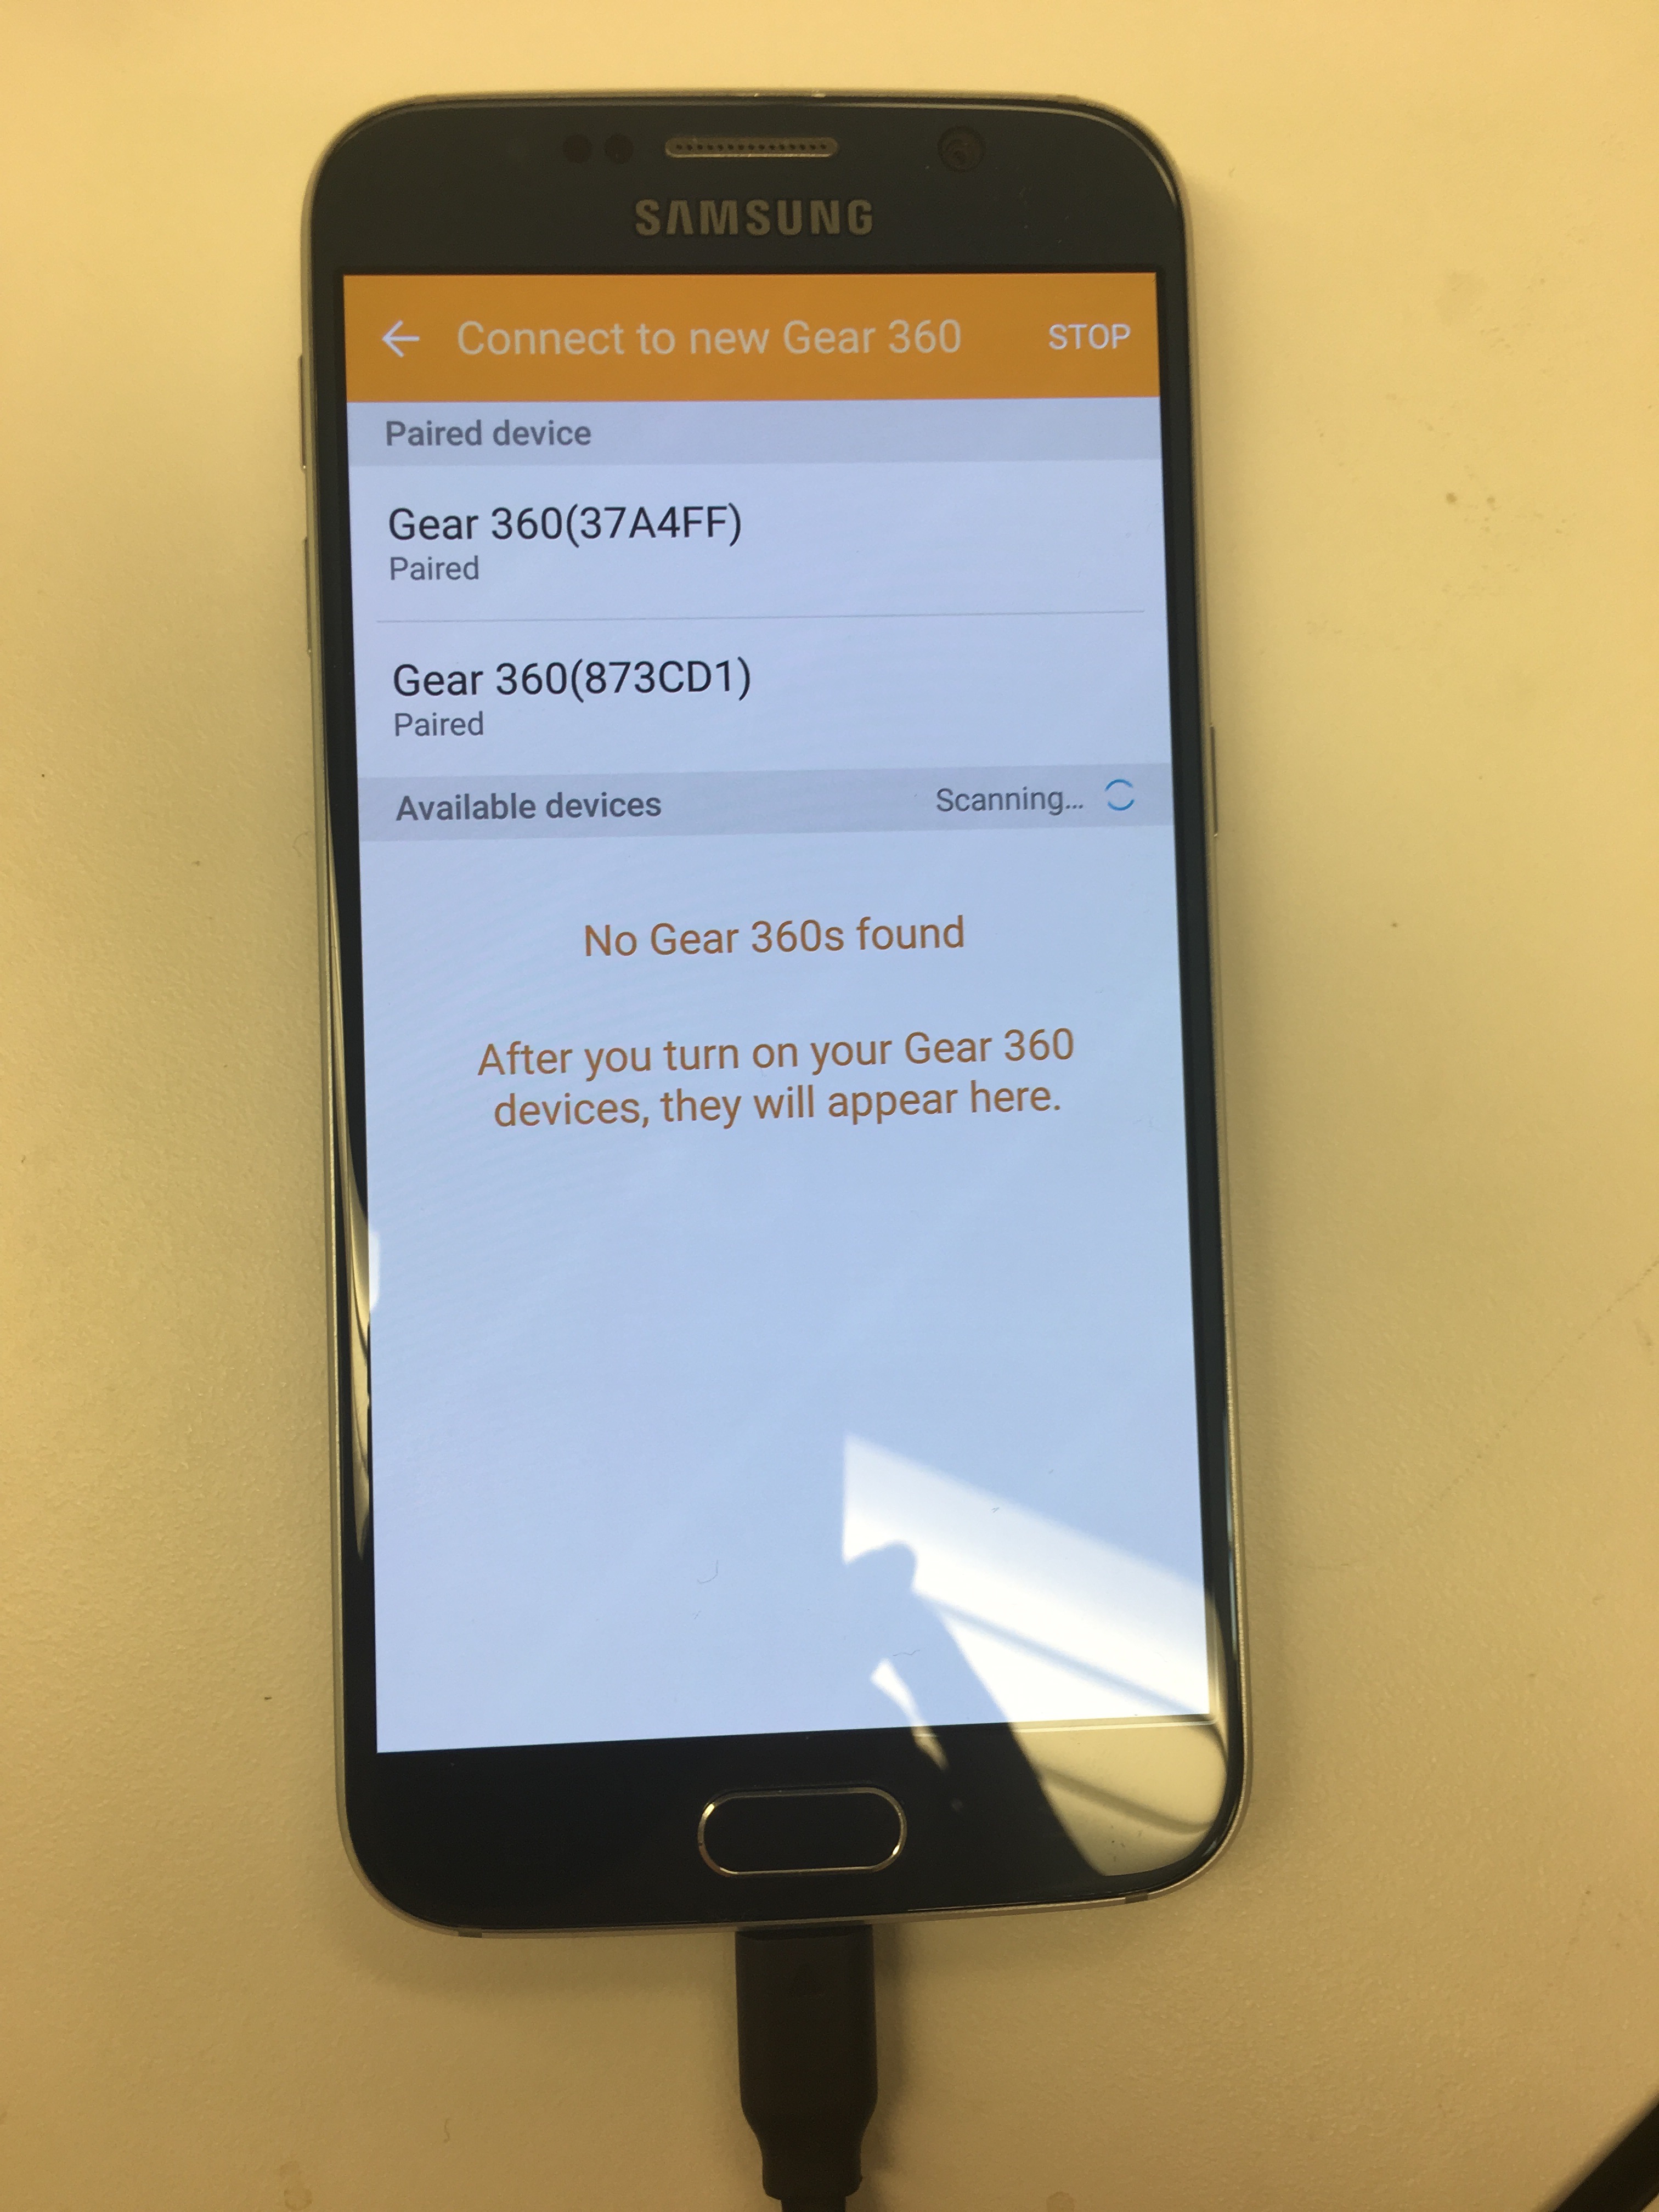
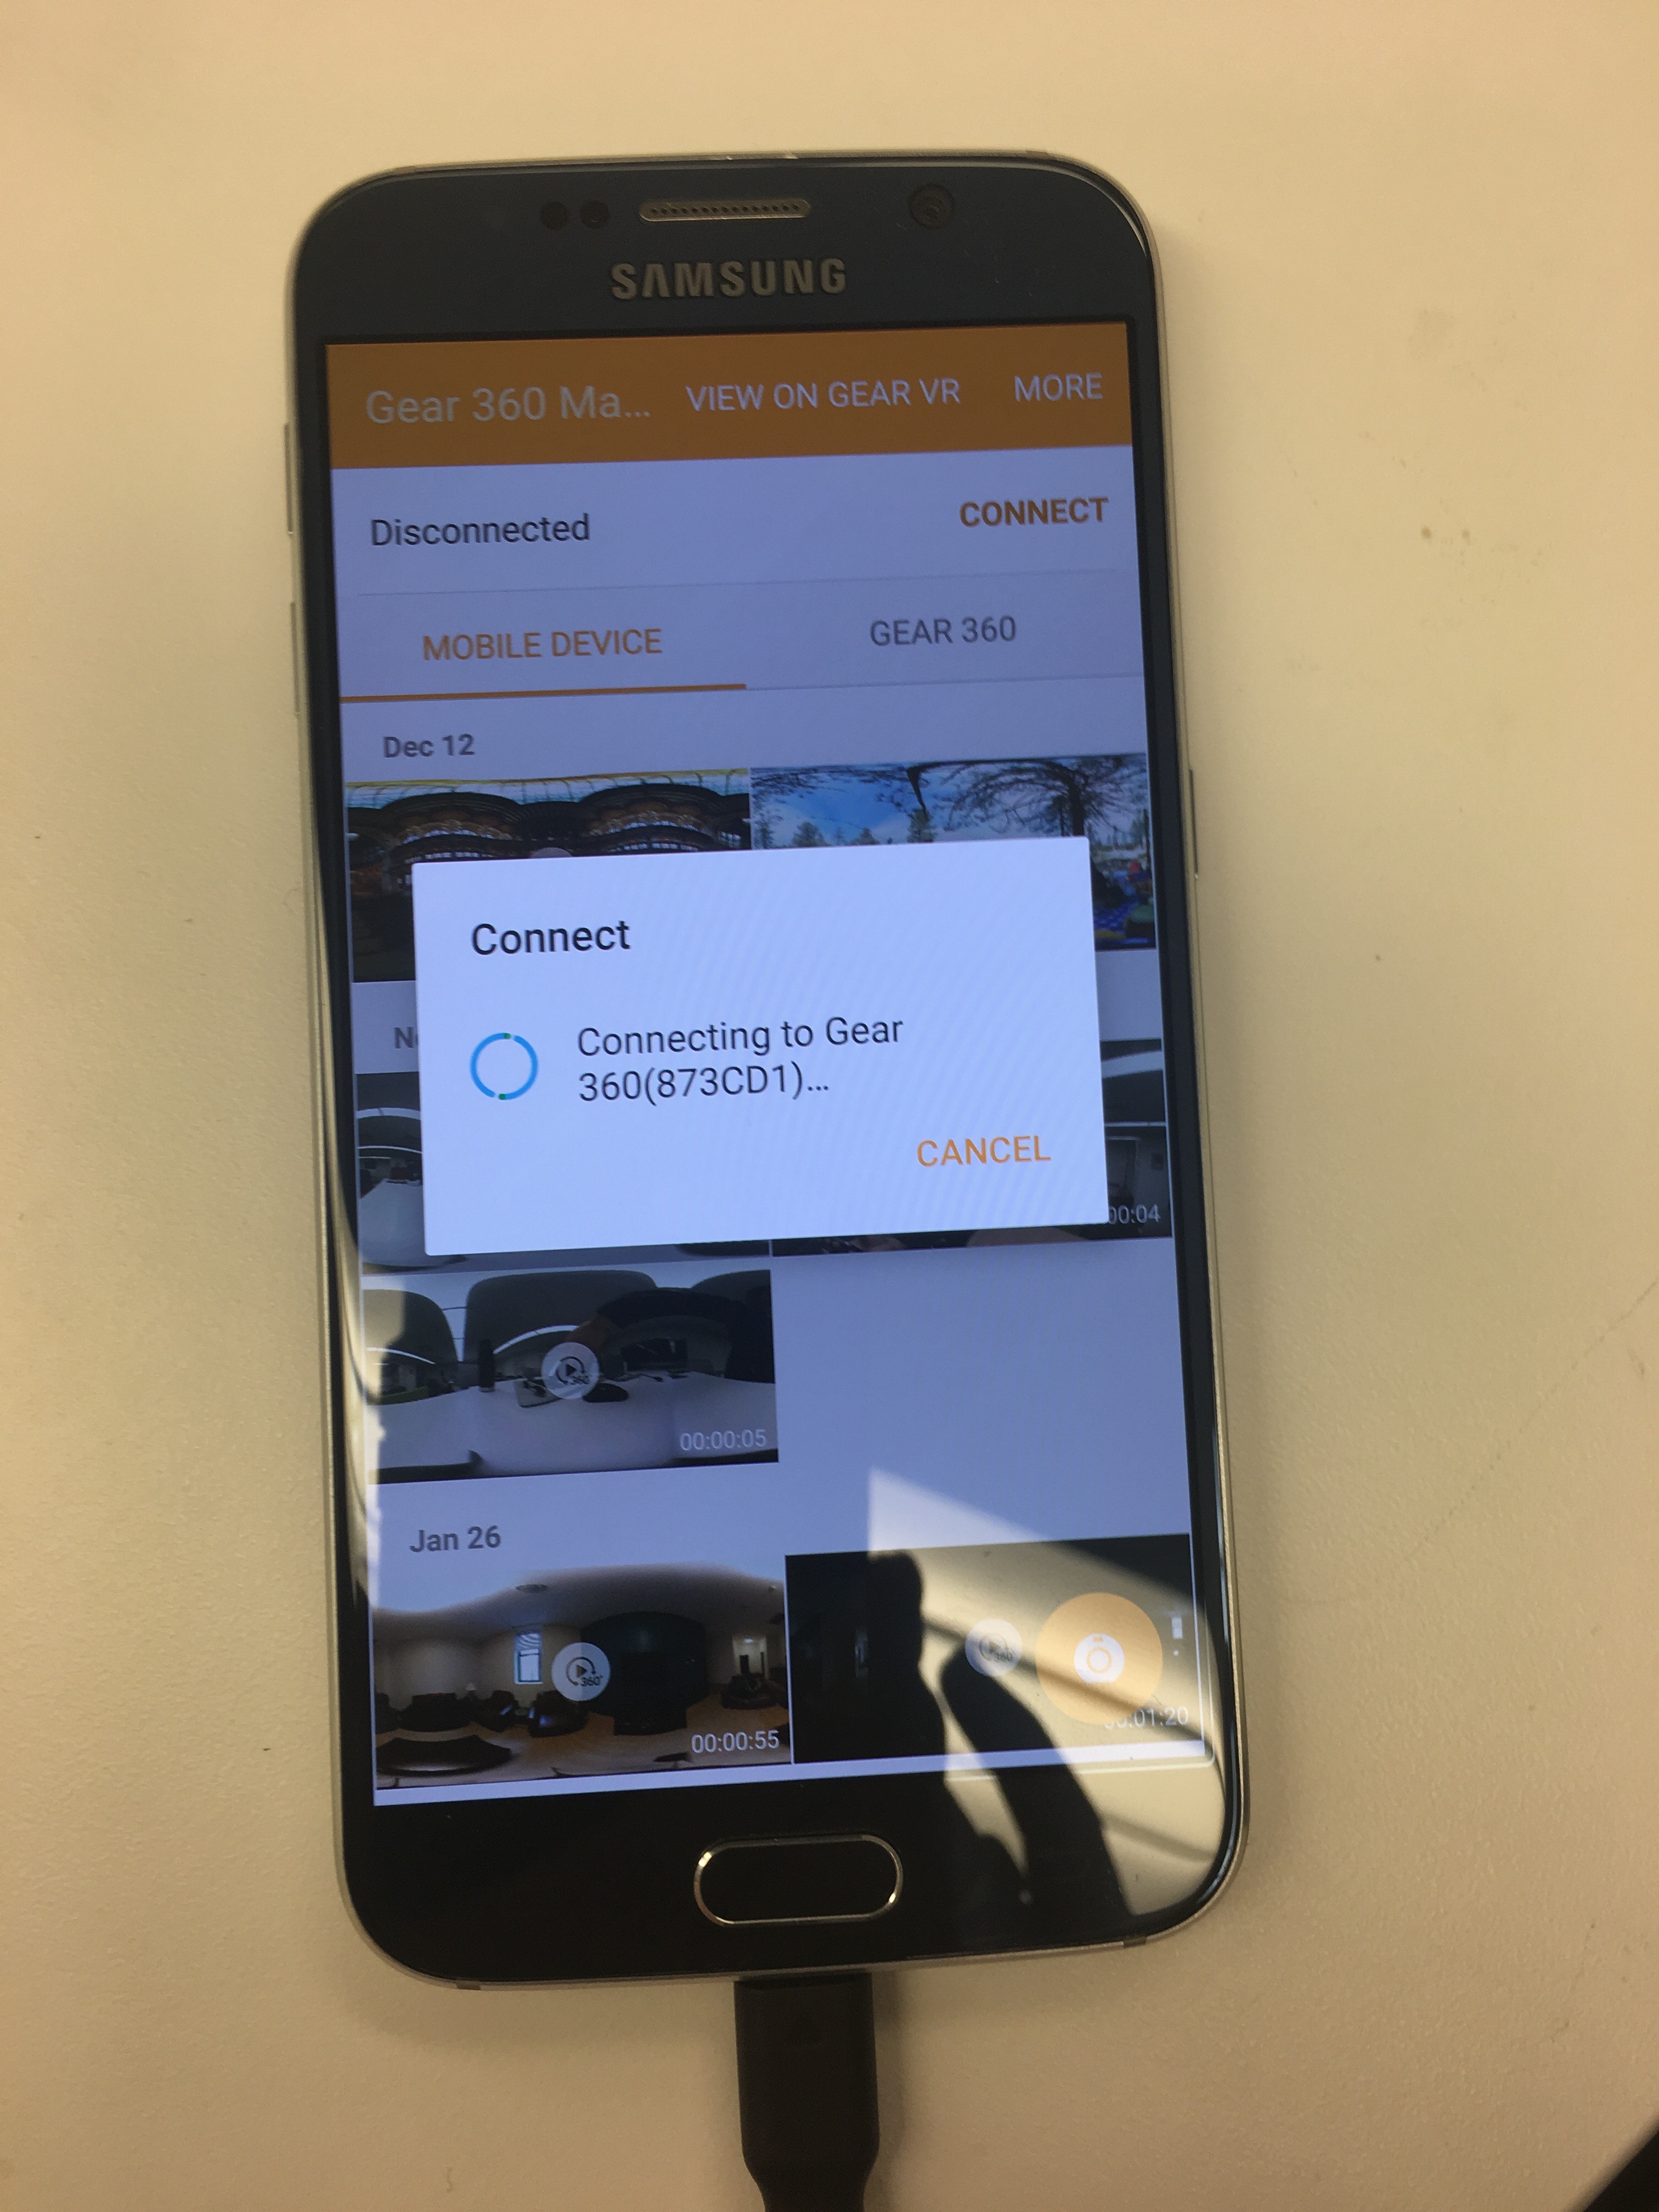
The camera connects to Manager via its own Bluetooth signal. Once the app is launched, the user is prompted to pair it with any Gear360 camera whose signal is on and within range (which through trial and error, I discovered was fairly strong up even at 5 yards away).
Pairing
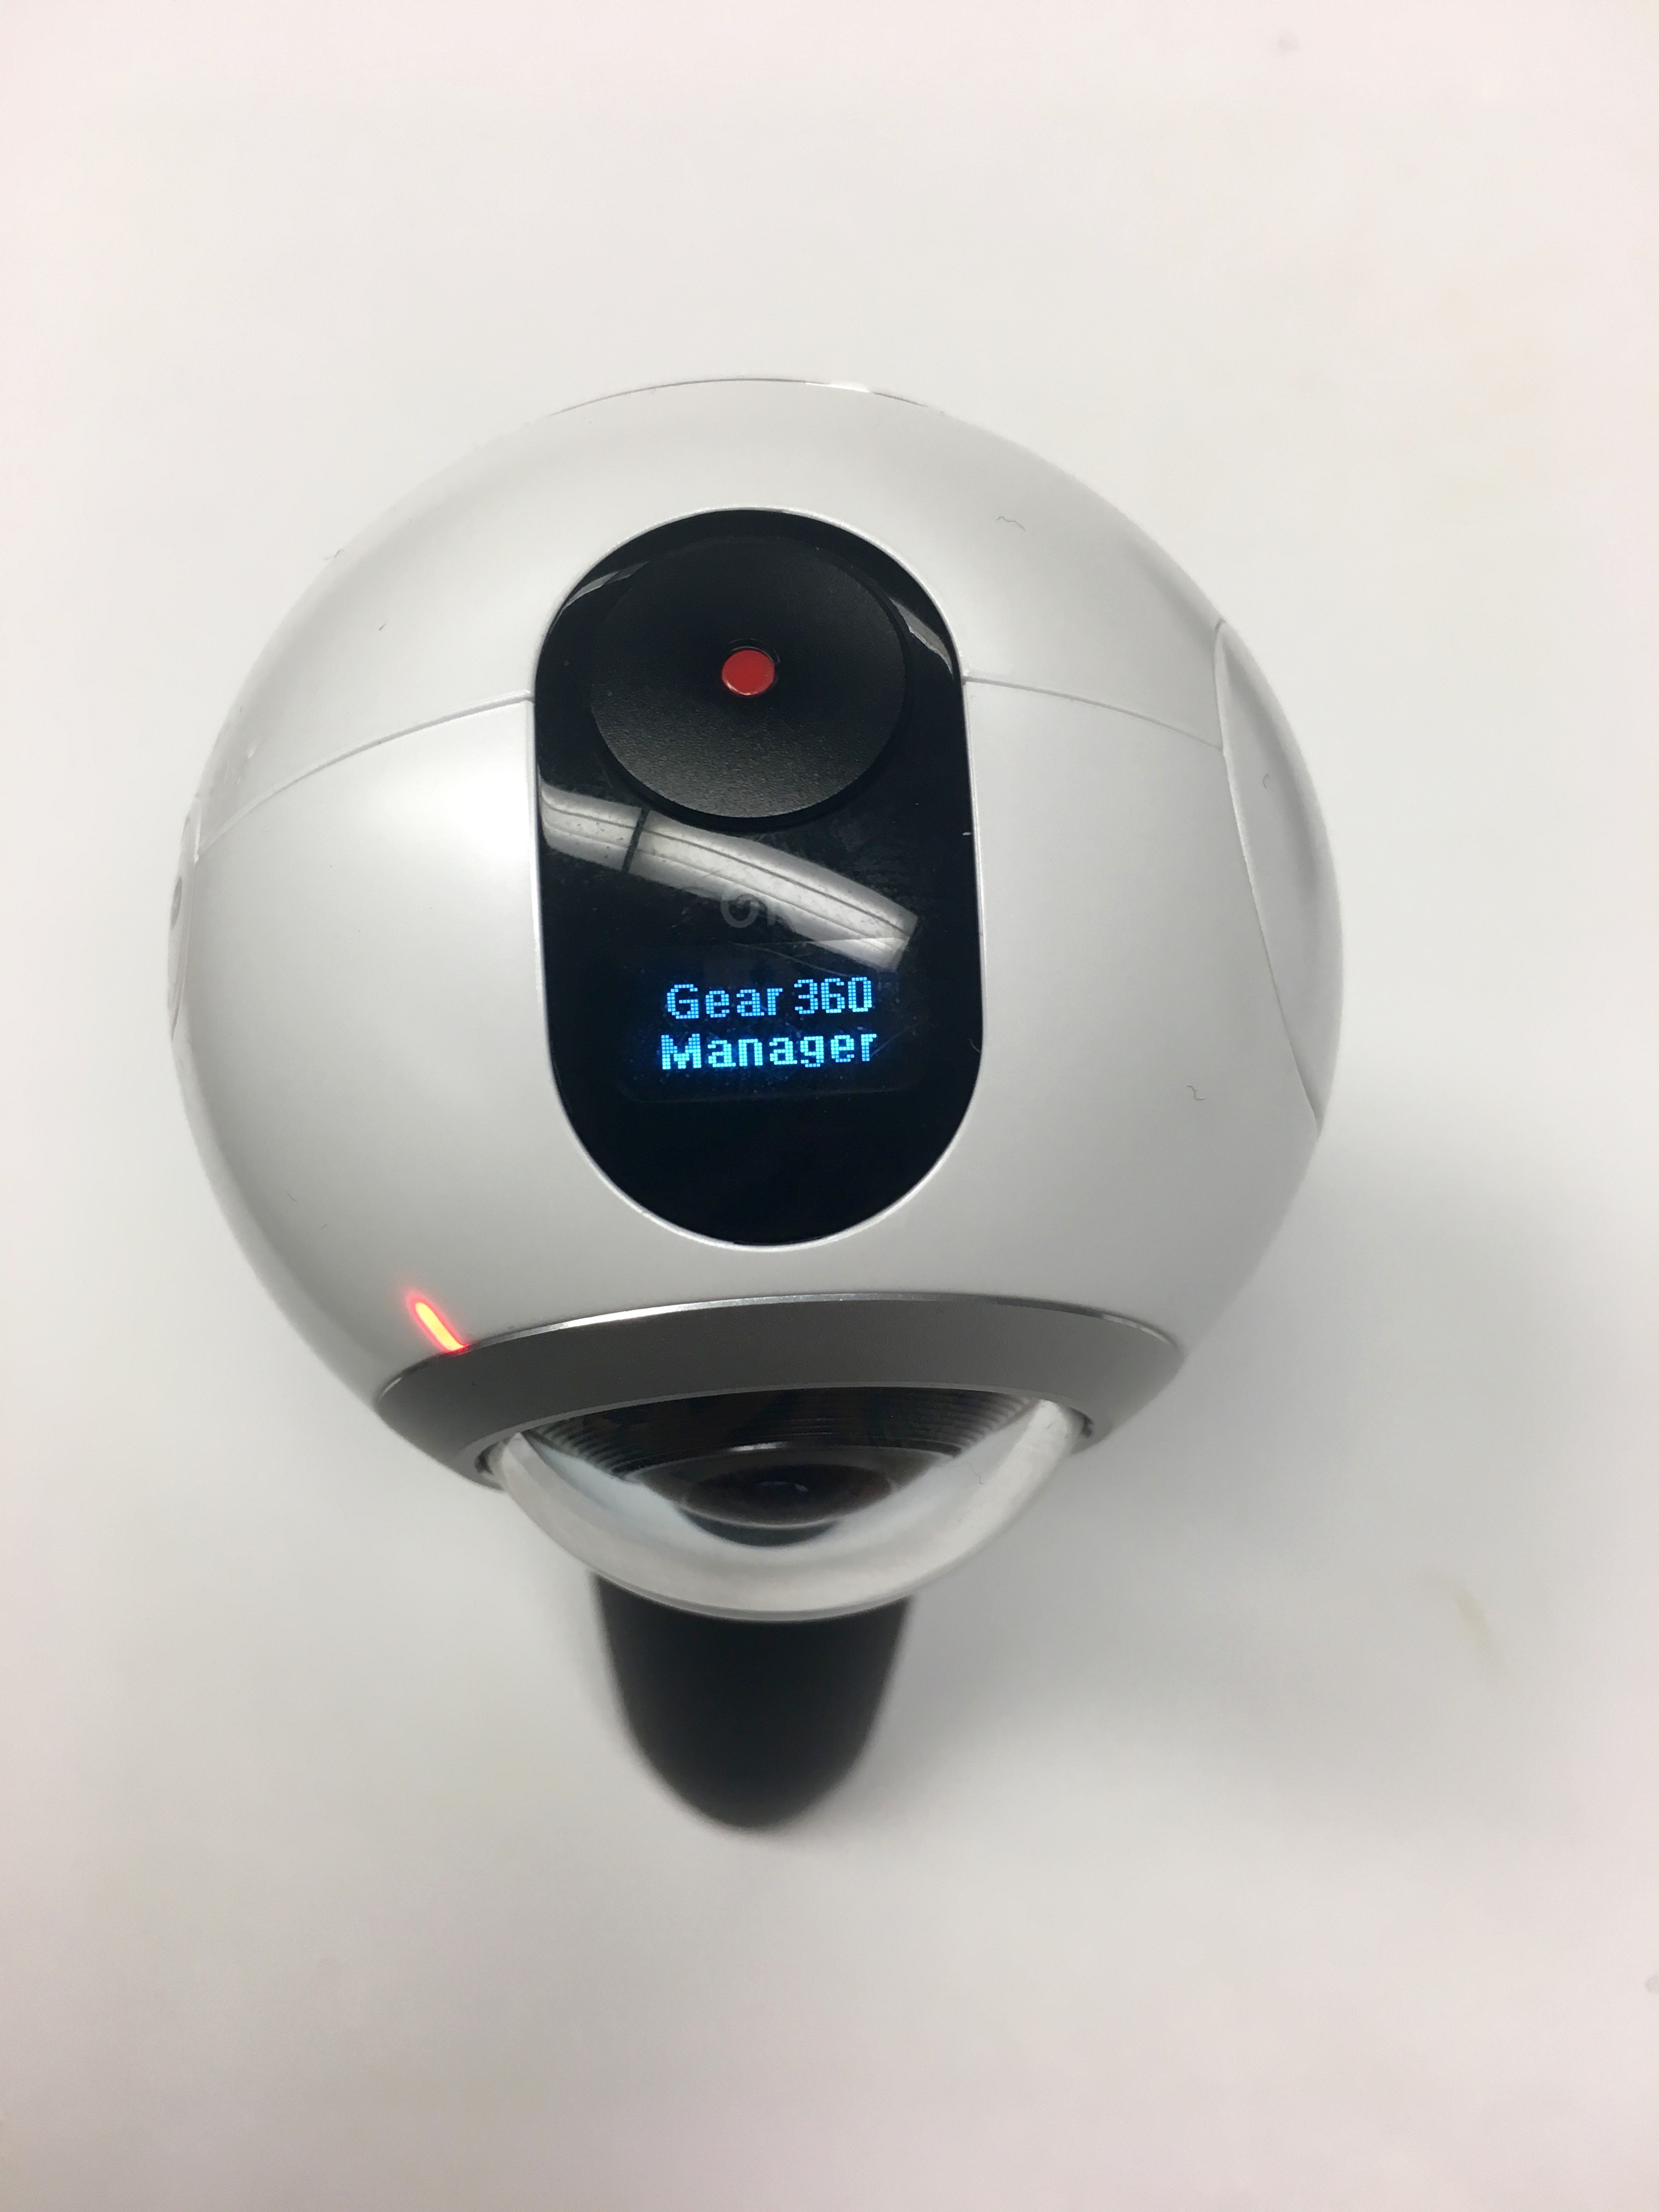
- Launch app, and turn on the camera.
- Hit the Bluetooth/Menu button the camera to send out signal. Then, click the Bluetooth/Menu button again to cycle through menu options until arriving on "Gear360 manager." Press the record button once on this option to select. The camera is now ready to pair with the phone.
- One the phone, select the coordinating camera. Sometimes, they will link automatically.
Key features
Live view
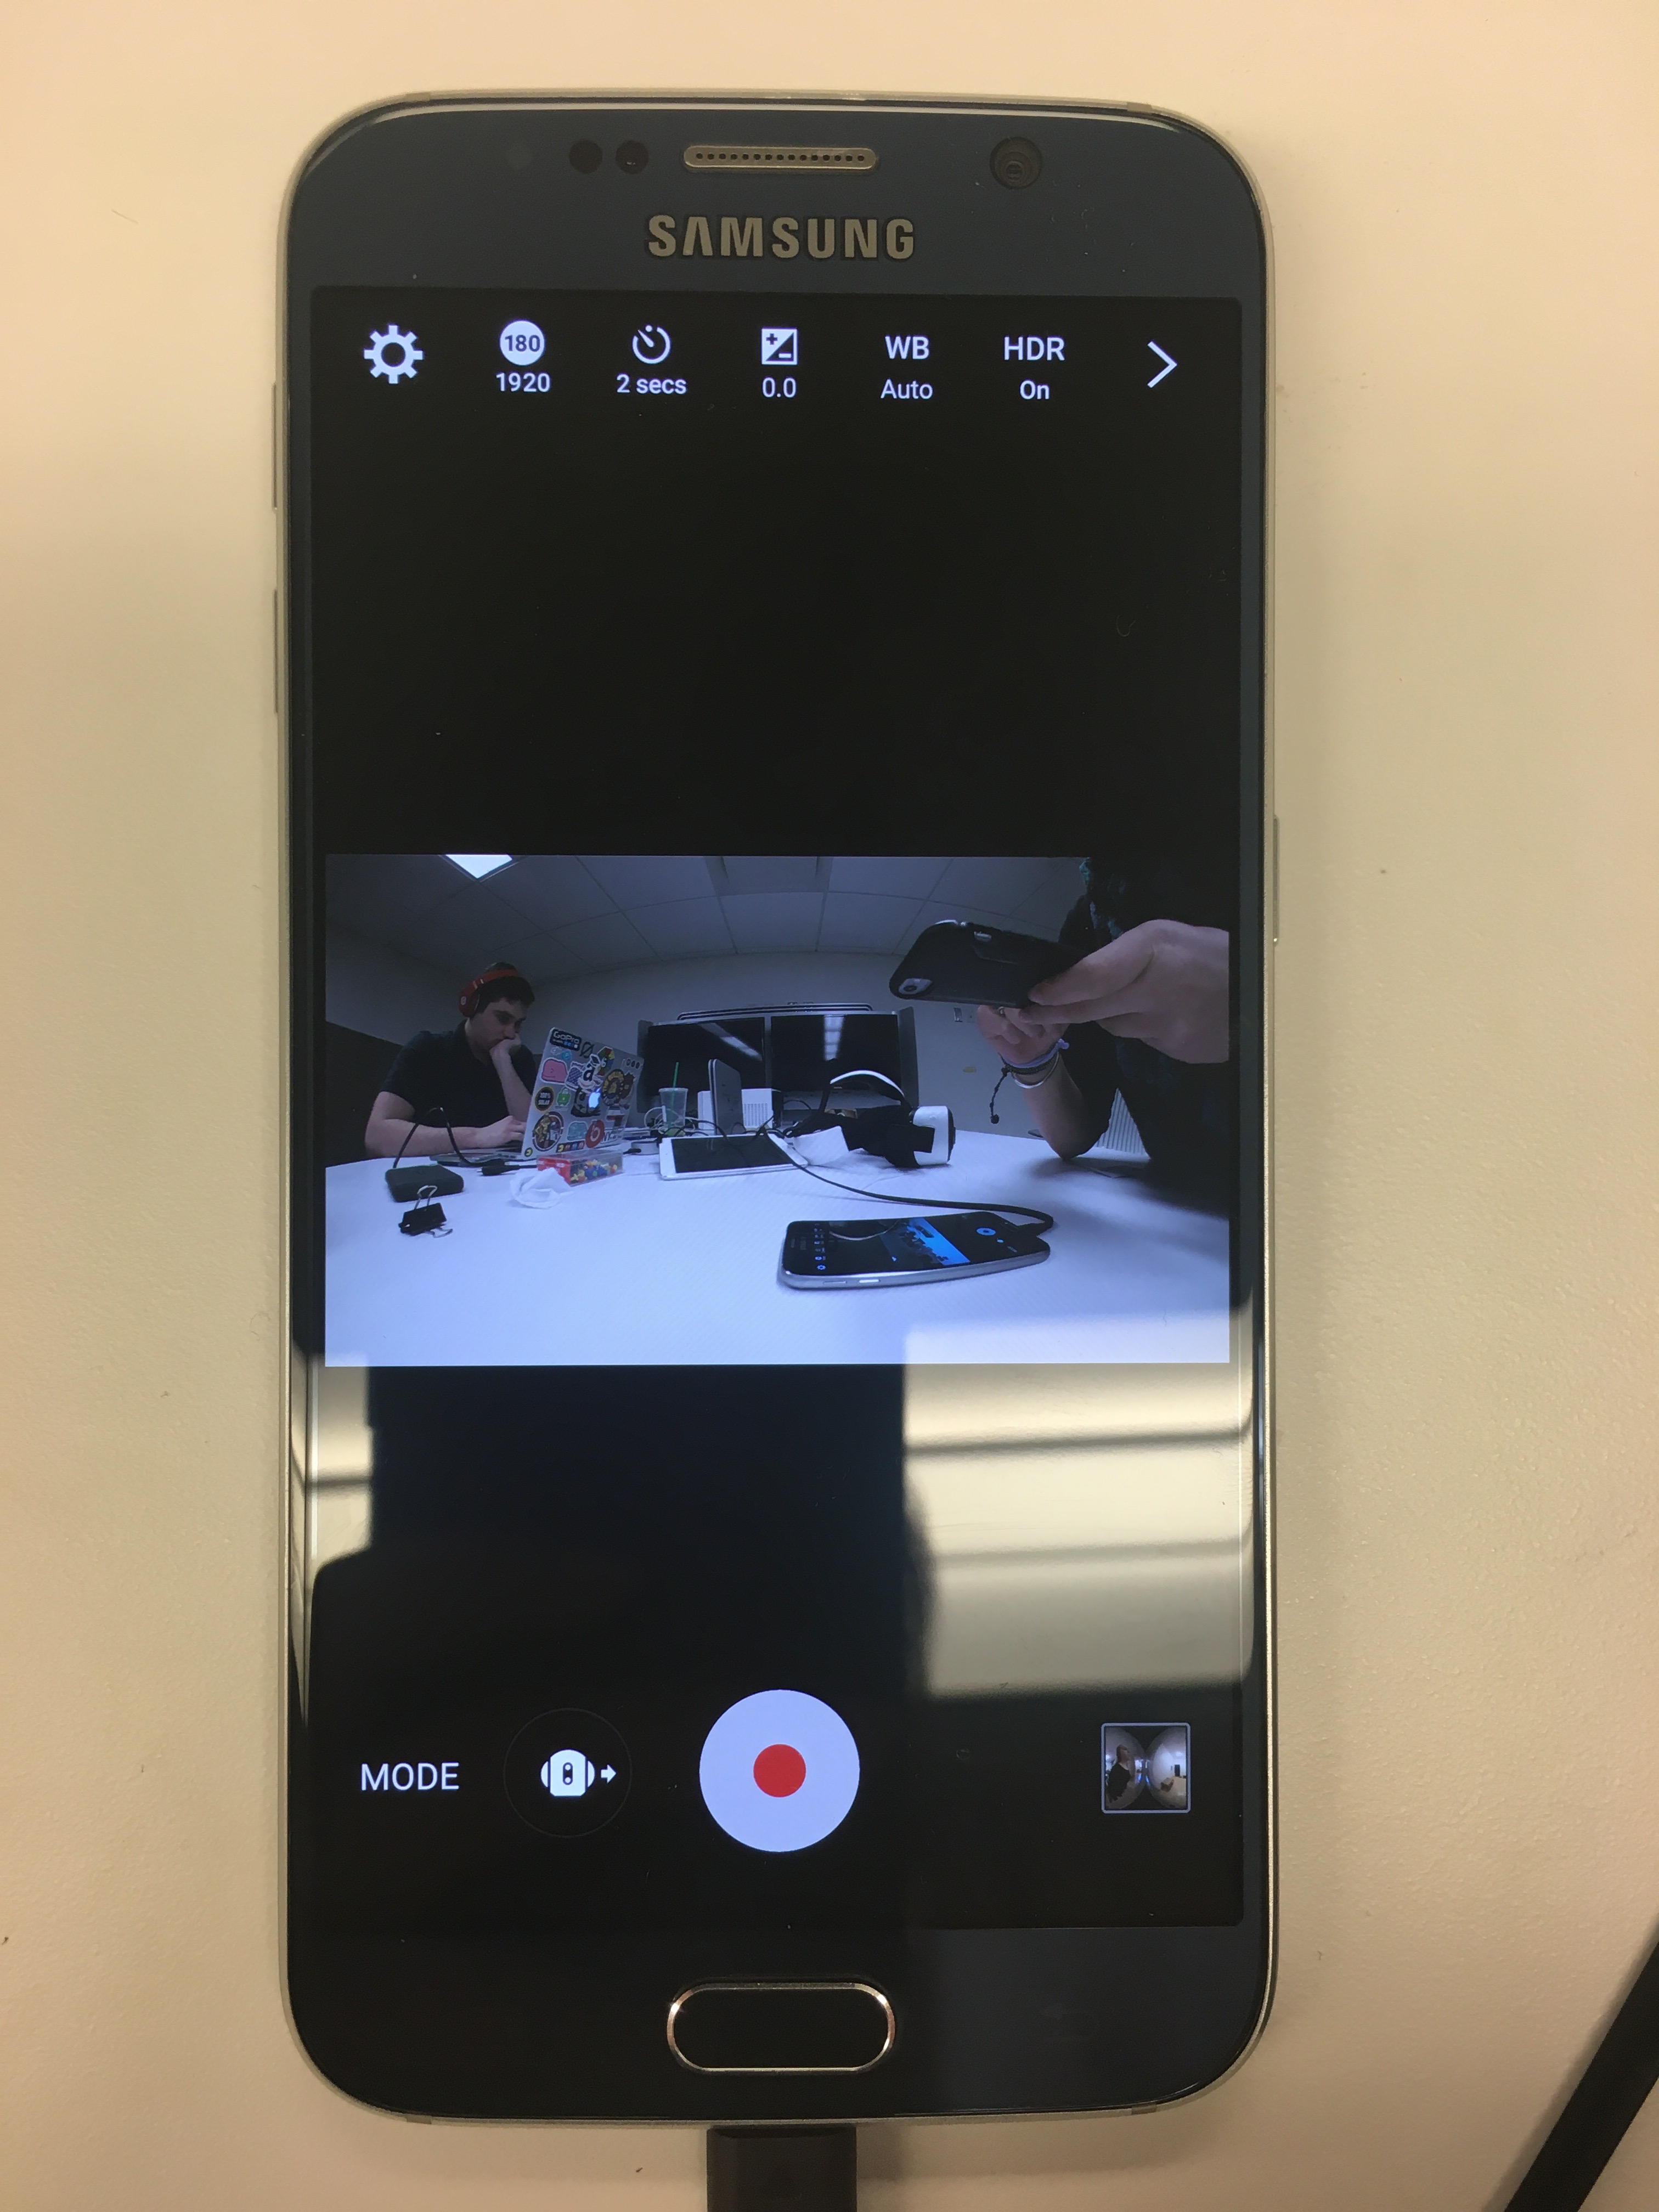 The live view is one of the simplest yet also most useful parts of this app. By being able to see what the camera "sees" before and during recording, you have a much better idea of the quality of your footage; it eliminates some of the "guess and check" work when it comes to what angles look okay, how dark the scene appears on camera, if someone or something is in the frame that should be hidden etc.. There's standard "play" / "stop" functionality here, too, as in a normal camera.
The liveview can be activated in single panorama, spherical, and double panorama (panorama of each lens).
When filming, the display will also automatically go into "sleep" mode. This is designed to help save battery.
Basic camera adjustments
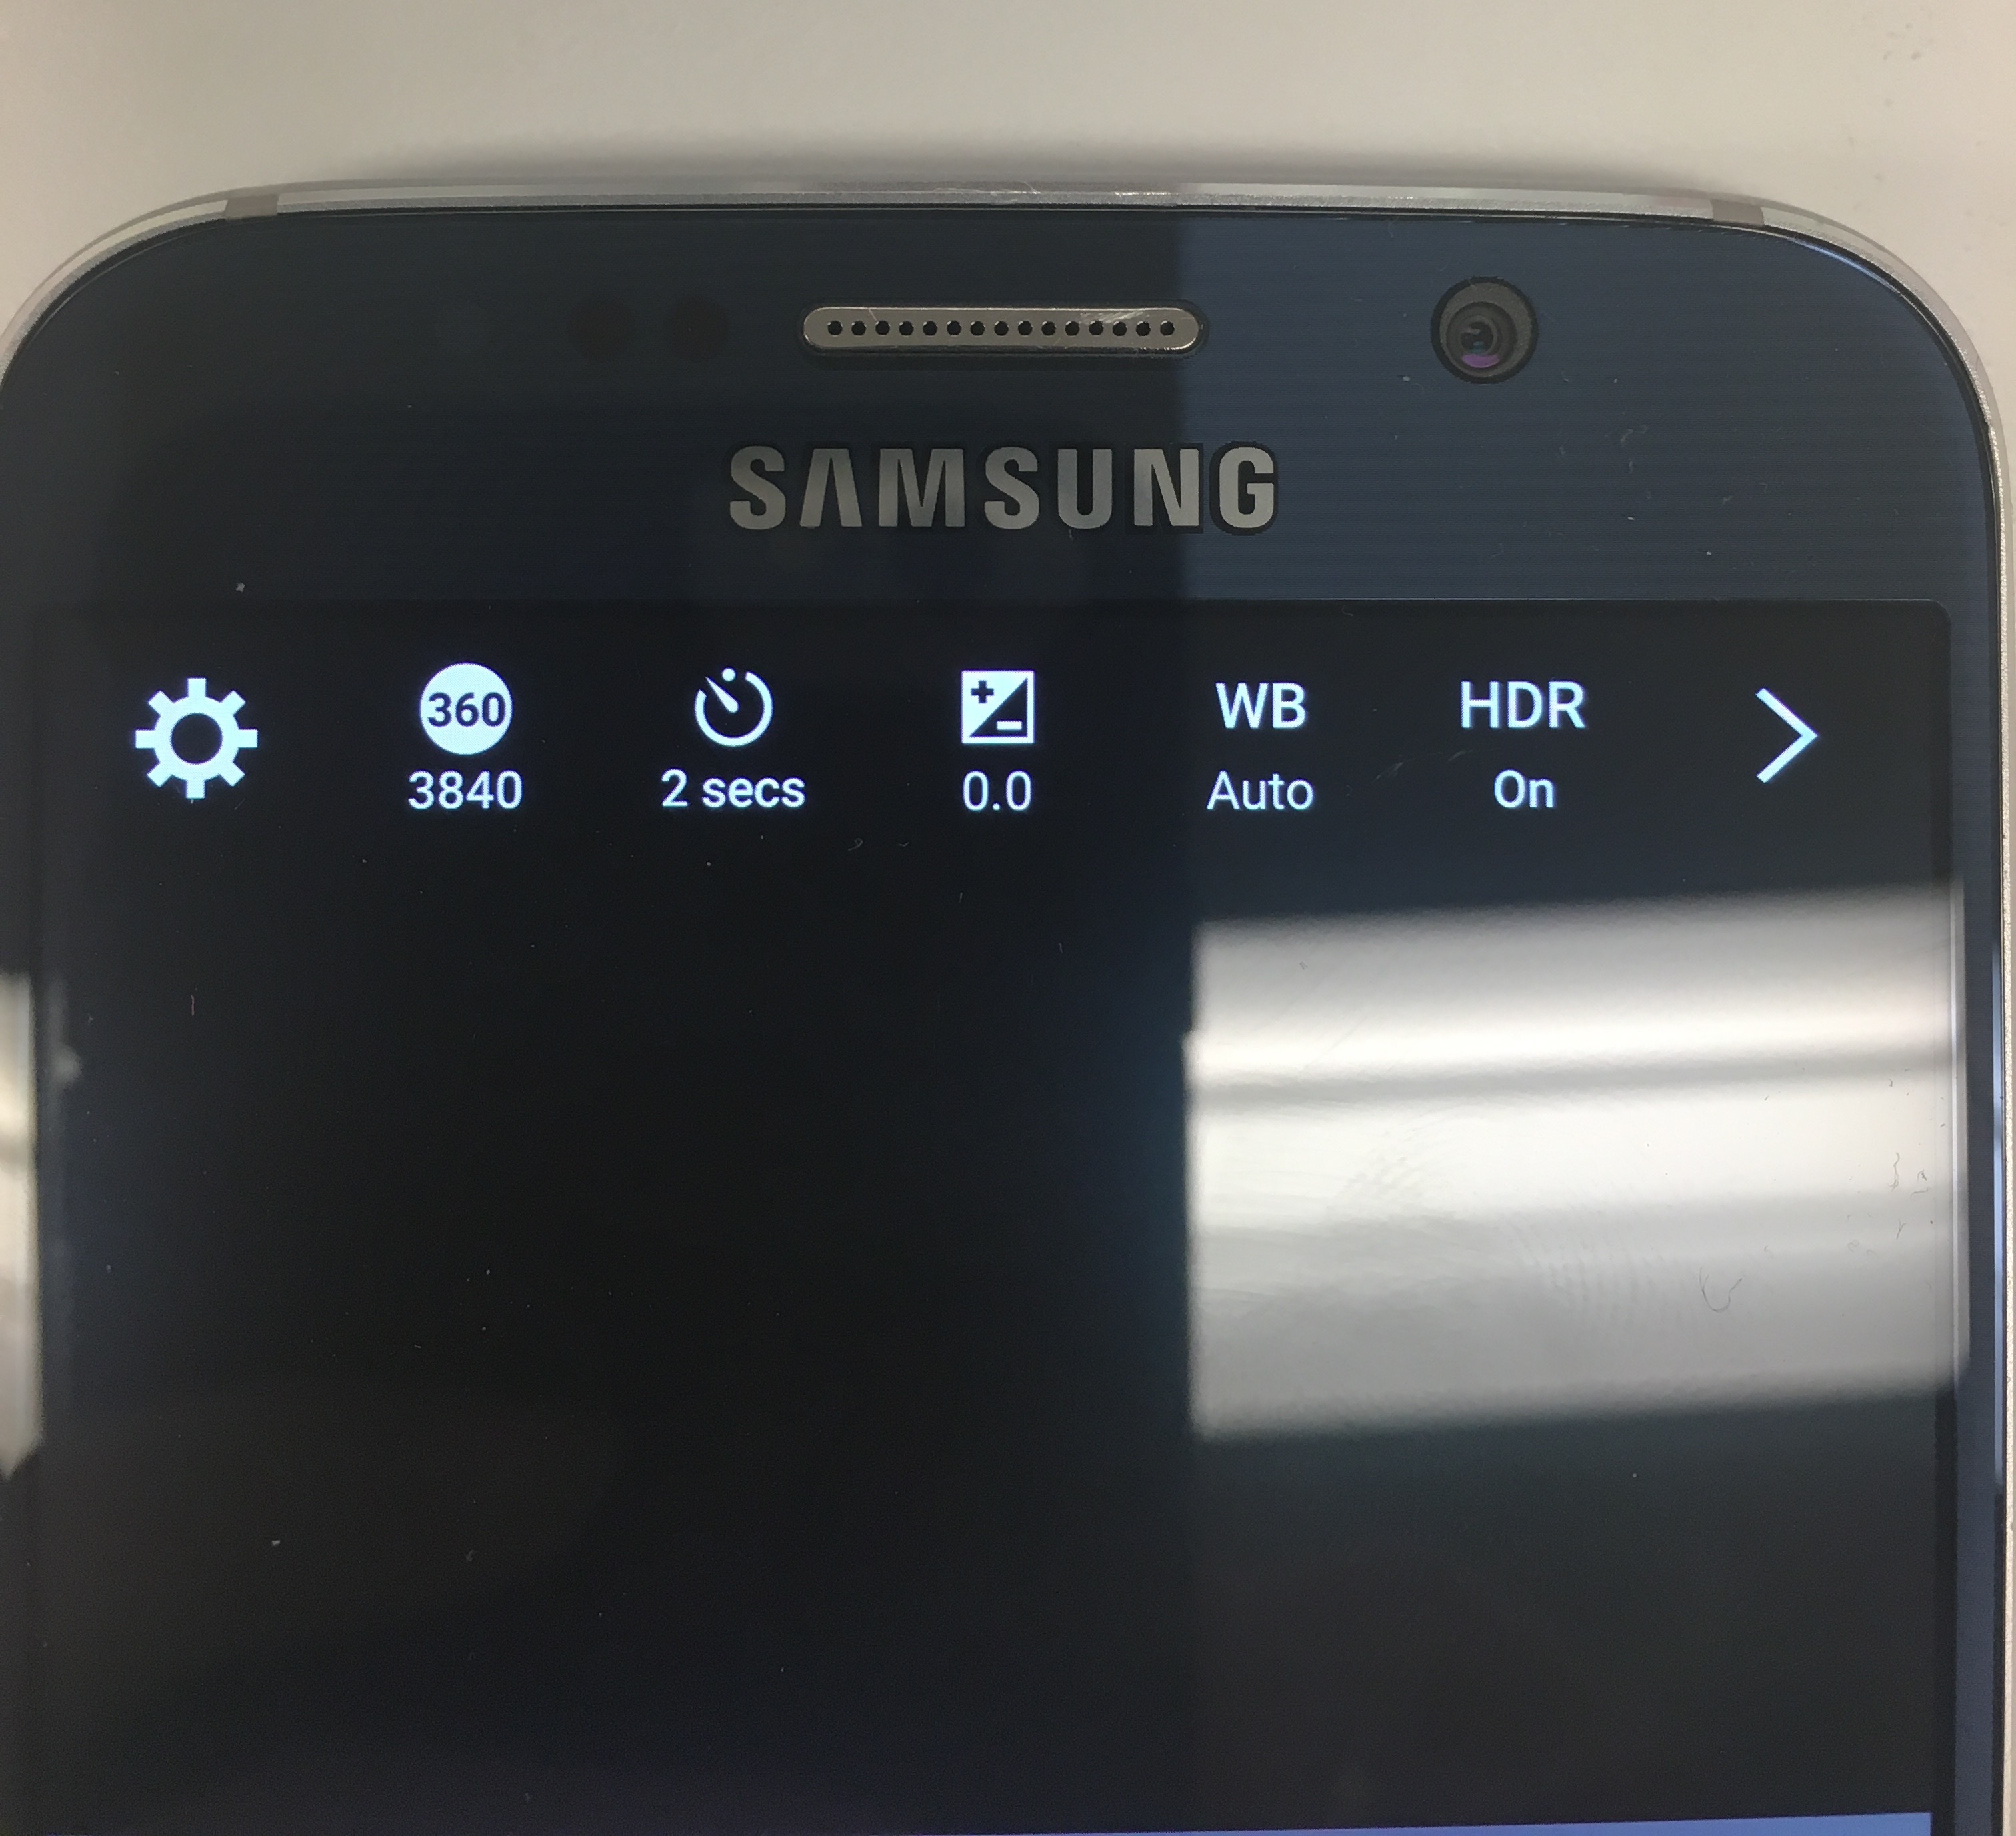 While in live view, you can toggle through a variety of basic camera setting such as resolution, timer, white balance, exposure, and HDR. While on the camera itself you can access some of these features such as the timer and the resolution, options regarding white balance, exposure, and HDR are not available when not using the app. Being able to adjust these features "in-camera" allows less time spent in post-production, as you can toggle through different options and watch (and then adjust) the changes in the live view.
From the live view, towards the bottom, you can adjust live view settings camera lens activation (front lens only, rear lens only, both lenses), click to view stored videos, and adjust the mode (video, photo, time lapse, video looping).
Advanced camera adjustments
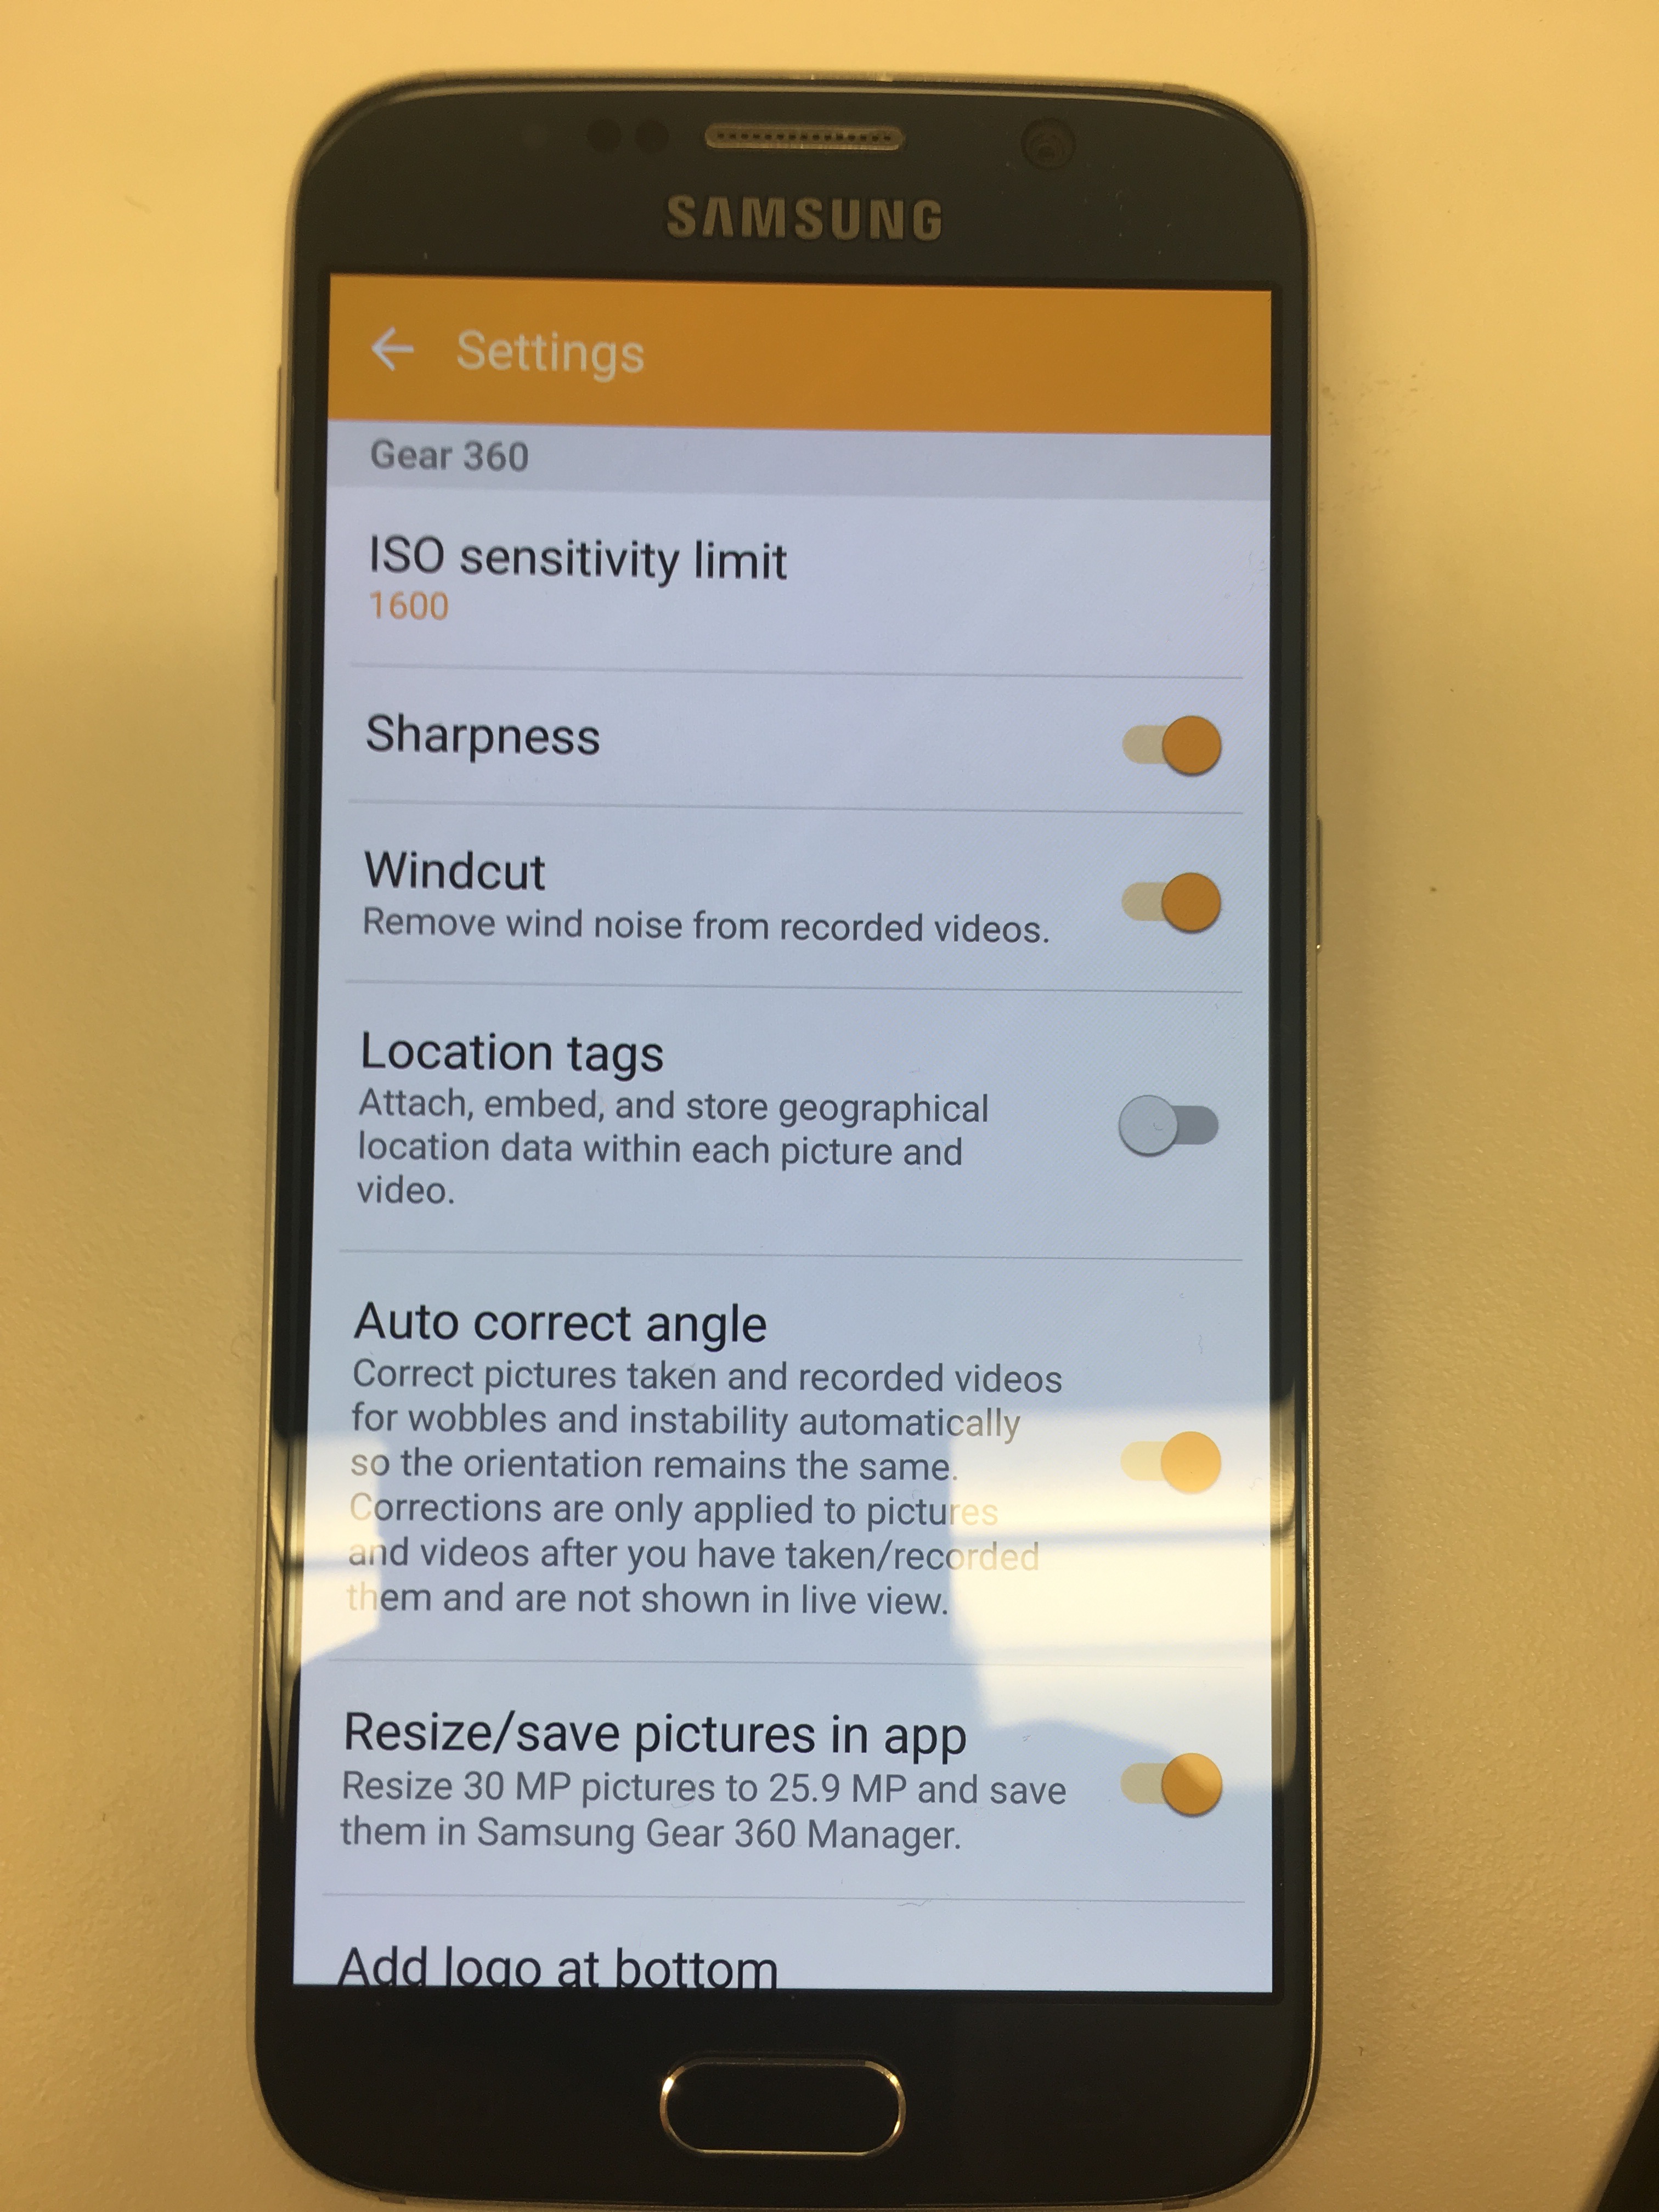 When clicking on the "Settings" gear icon, you can also adjust more detailed settings such as ISO, "sharpness" (a pre-set), "windcut" (preset), location tagging, auto correct for the angle, re-sizing, logos, and more.
Criticisms and Takeaways
Generally, this app was very easy to use and well designed. The interface is clean and simple, mimicing other similar "normal" photo apps to give users a sense of familiarity.
Running the app while recording, does drain the battery fairly quickly though (I went from a 75% to a ~30% charge in half an hour, though the display brightness was almost all the way up). Additionally, while filming one of my sequences, the app crashed.
The camera did stop recording at this time, however, the footage already recorded when the camera crashed was saved, and I was able to get the app re-launched fast enough that only a few seconds were missed in between. However, this kind of unpredictability is not ideal, especially if filming scenes which cannot be re-recorded.
The largest benefits overall are being able to access settings such as exposure a white balance and, really, just seeing what the camera is recording. With new technology like this, there can be a learning curve in what creates quality shots, and the livepreview can really help streamline the process.
For example, in my final project, I was shooting at night. I had brought some LED lights with me, however, I ended up not using them because I could tell (from the live preview) that they did not add much light to the frame and were, in end, more distracting than anything. Without the live preview (and available white balance, etc.) adjustments, I wouldn't have been able to tell how strange my initial lighting plan looked, which would've hurt the shot quality. The little add-ons, such as the "windcut" feature, also helped improve my audio slightly.
In the future, to mitigate random app crashes, I will use the app to check my setup but then actually start and end the recording from the device itself. On the whole, the app succeeds in its mission; it streamlines the filming process and encourages experimentation.


COMMENTS